Before and After Photos: The Right Way to Send Them
Send before and after photos with matching angles, clear filenames and a reply from the client. Includes a phone upload example and a note on privacy.
Product demonstration: Product captures use fictional data. Sample requests and project messages are illustrative, not customer results.
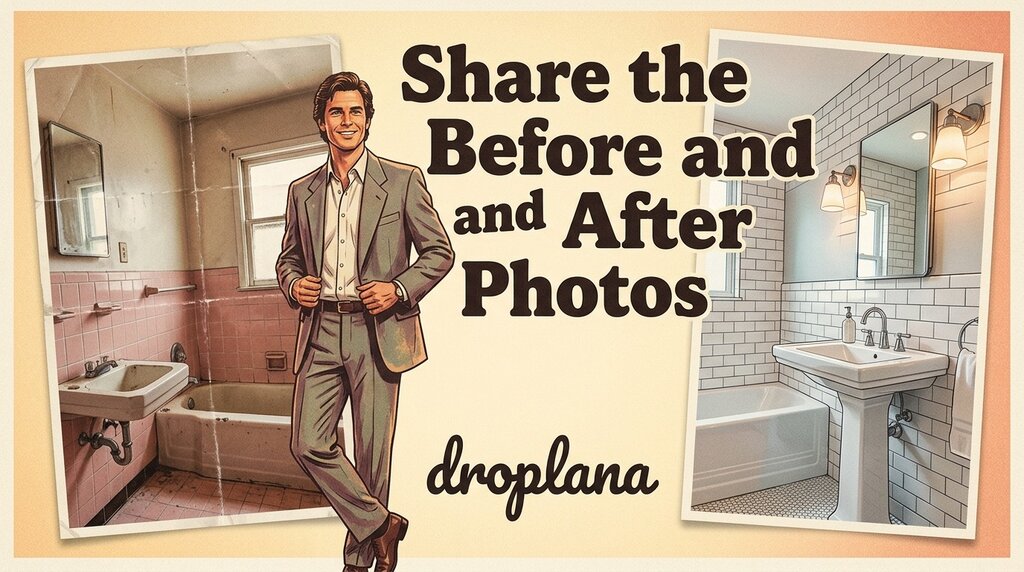
Send before and after photos as a named pair, taken from a similar position, with a short explanation of what changed. Give the client a place to return a question or an additional photo.
Droplana is a client document portal for this two-way exchange. Each client has one private, persistent portal for files and comments, and the client can reply with a photo straight from a phone.
Take before and after photos that can be compared
Photograph the area before work starts. For the after shot, use a similar angle, distance and lighting. Include an overview for location and a close-up for the detail you want to discuss.
For renovation, landscaping, painting or cleaning, a photo can show visible changes. It does not prove when work happened, that hidden work is correct or that a client accepted it. An upload date records uploading, not when the camera took the photo.
Use a repeatable filename and comment
Illustrative pair:
Courtyard - Patio - Before - 2026-09-21.jpgCourtyard - Patio - After - 2026-09-25.jpg
Add a comment to the after file: "Patio, viewed from the kitchen door. This photo shows the cleaned surface. Please reply on this file with any area you want us to check."
You enter the names and the comment yourself. Droplana is not a photo gallery: it does not match pairs, generate captions or build a photo timeline.
Upload from a phone and check the result
Open the correct client's portal. With client uploads enabled, the client can choose an existing photo or use the phone camera control. Select a clear image, let the upload finish and confirm the filename appears before leaving the page.
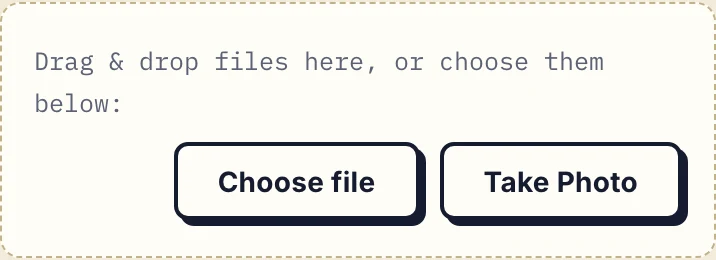
Actual product controls with fictional data. Choose an existing image or use Take Photo when the phone browser offers its camera. The control alone does not show a completed upload.
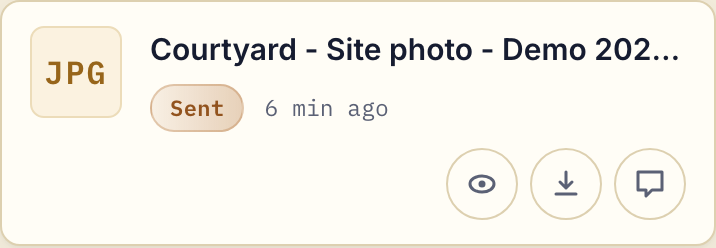
Actual product view after uploading a demonstration image through the phone upload input. The sample is illustrative, not a real before-and-after job.
The business shares its own photos from the business view. The client can send another angle back to the same portal when you need clarification.
Keep access and permission clear
A text-message exchange or a named cloud folder may suit a small handoff. For repeated exchange, use one consistent location and explain it to the client.
Clients do not create a Droplana account. Strict mode is the default and requires email verification on a new device. One portal belongs to one client; contacts added to it share its files, without per-project or per-file access roles. See the security-level guide before sharing sensitive photos. Avoid unrelated people, addresses and neighbouring interiors in the frame. Agree what you will photograph and who will have access. Permission to document the job is not permission to use photos in marketing; get separate written permission for that use.
For beauty and wellness photos, consider the sensitivity of the images before collecting them. A private portal does not by itself establish that a particular use is appropriate.
Ask for a specific reply, then keep your copies
Ask what the client has reviewed and what still needs attention. Approved and Rejected are reversible file markers: either side can set or clear them. There is no Awaiting approval state, and a marker does not prove that work was inspected, understood or accepted under a contract. A comment is not a substitute for any formal sign-off you need.
Free includes 3 clients, 2 GB total storage and 100 MB per file. Solo costs €19/month plus tax for unlimited clients, 50 GB total and 1 GB per file. Clients do not pay. Compare the other plans and annual billing on the pricing page.
Try the contractor document workflow with one photo pair and a client reply.
Questions before you start
Does uploading prove when a photo was taken?
No. An upload date records when a file was uploaded. It does not establish the camera capture time, correctness of the work or a dispute outcome.
Can a client upload photos without an account?
Yes, when the business enables uploads. Clients do not create a Droplana account; Strict mode requires email verification on a new device.
How long are before and after photos retained?
Free keeps each file for up to 180 days from upload. Active paid plans have no plan-imposed retention limit, subject to expiry settings, deletion and cancellation. Keep required long-term copies separately; a persistent portal address is not an archive.